
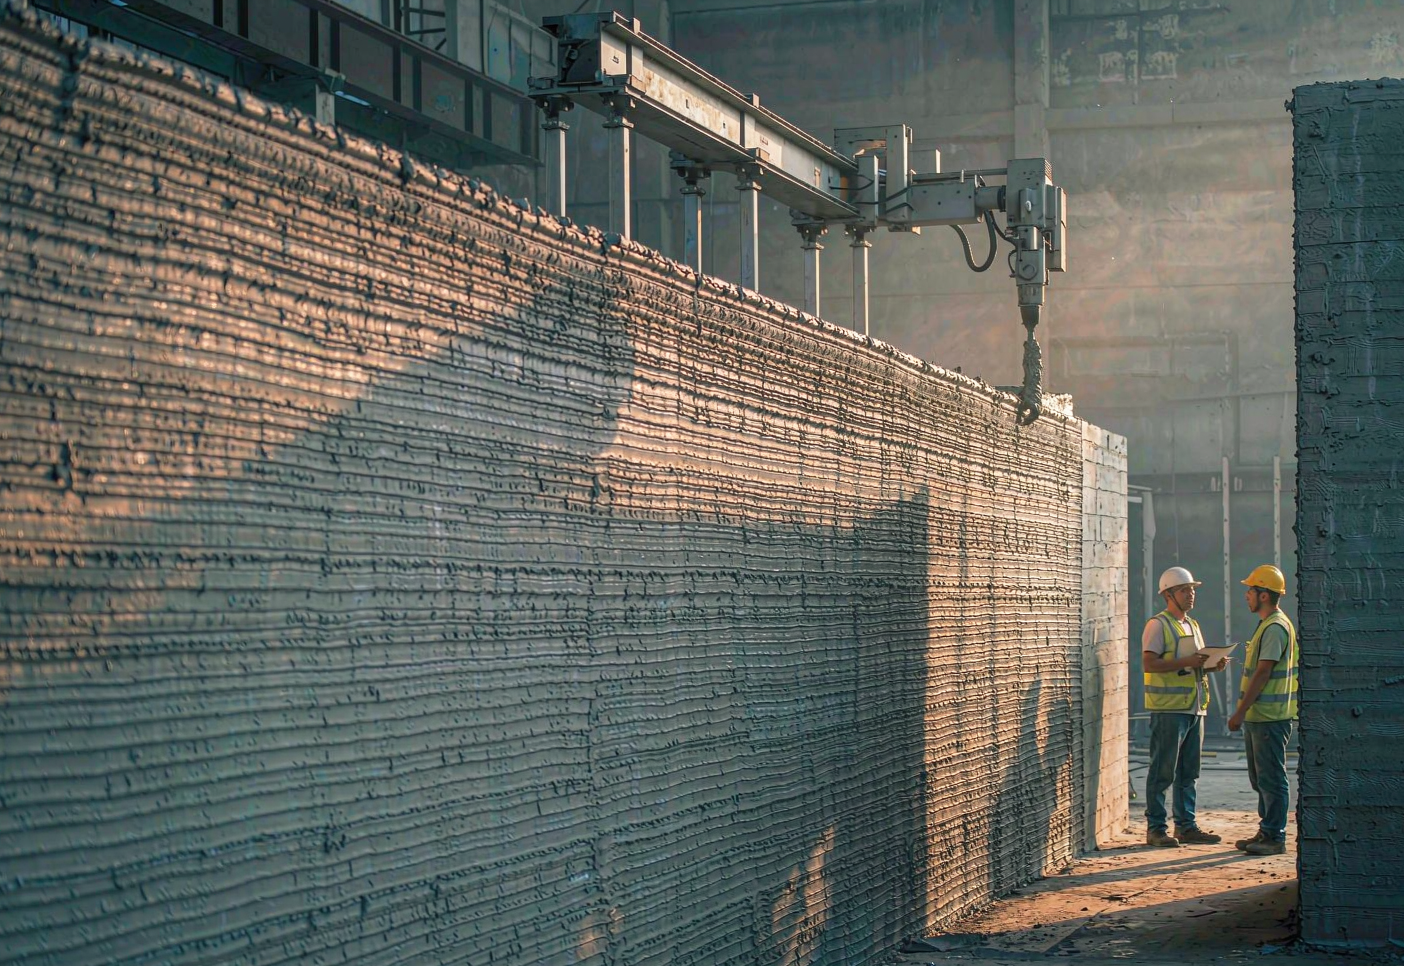
The question of how to choose a 3D concrete printer comes down to four decisions, made in order. Define what the machine will produce. Define the build envelope those components require. Define the printable concrete and the feed system that carries it. Then compare cost per unit and engineering support across two or three suppliers. Most poor purchases begin by skipping the first decision, which is why two quotations so often describe machines built for unrelated jobs.
The real test is narrower than a specification sheet. Put the system into your own project pipeline and ask two questions. Can it produce conforming components at a stable rate? How many productive print hours will it actually deliver in a year?
Where the component is formed decides the machine
The first fork is factory prefabrication versus on-site printing, and it separates most 3D concrete printing (3DCP) projects into two families. Factory prefabrication fixes the machine in one place. Curing conditions stay stable, and the cost of a large build envelope shifts into transport and lifting, which suits standard components made in volume. On-site printing needs a machine that can enter a site, move between sites, and work within the bearing capacity of the ground and a temporary power supply. Envelope size is limited by the site and by reach, which suits walls printed as one piece, curved surfaces, and parts that are awkward to move. The two routes demand close to opposite things from mobility, material feed and positioning accuracy. Write down component dimensions, batch size and transport limits before comparing anything.
Gantry and robotic arm systems make opposite trade-offs, and neither is the better machine in the abstract. A gantry system repeats its position reliably and suits long components in a fixed location. Enlarge the envelope and crossbeam deflection, column stiffness and rail foundation requirements rise together, while weight and footprint grow and transport between sites gets expensive. A robotic arm system has freer orientation and handles irregular curved surfaces with less effort, but its working range stops at arm reach. Anything beyond that range needs an external axis or a mobile base, and accuracy degrades as the arm extends. Build envelope and positioning accuracy belong to one conversation, and the follow-up question is how repeat accuracy is measured at the size you need. Ground bearing capacity, power capacity, wind load and temperature swing belong on the same evaluation sheet as the envelope. Telescopic and tower systems need their own counterweight calculation for wind.
Feed window and control system drive reject rate
On a 3D concrete printer, the feed window and the control system must be evaluated together, because a mismatch between them lands on the reject rate. Four things bound that window. Pumping distance and pipe resistance set one edge, and upper aggregate size against the extruder opening sets the second. A third edge comes from set accelerator dosage against open time. Hopper capacity and delivery rhythm then decide whether continuous printing can be sustained at all. Pumpability, extrudability and buildability are not independent properties, and a mix that satisfies all three on one machine can fail on another. Change the printable concrete mix on the same machine and the window narrows. Ask the supplier for a validated material list and whether they will trial print with the concrete you intend to buy. During that trial, record pump pressure, extrusion continuity and the interval between layers, which is worth more than any verbal assessment. Variation between material batches shows up in layer adhesion, surface finish and how the fresh layer bonds to the substrate below, and the earlier it surfaces the better.
Control capability decides yield, and almost none of it appears on a quotation. Does path planning handle variable cross sections and overhangs? Are layer height and extrusion volume calibrated together or set by hand? After a blocked pipe or a material break, can the print resume from the break point? Print interruption and the cold joint it leaves are the sharpest test of a control system. Ask the supplier to deliberately stop the print and restart it during a demonstration. Watch how the joint is treated and how long recovery takes. Ask whether extrusion pressure and layer height deviation are monitored while printing. These functions drive yield, rework volume and the number of people needed on site.
Print logs are worth settling before the machine arrives. Agree on whether logs are retained and how long a stop can last before a component is scrapped, because in a dispute those records are the evidence. A weak control system pushes the reject rate up no matter how stiff the frame is.
Unit cost and live projects settle the decision
Total cost of ownership (TCO) has to land on cost per unit, or the comparison never becomes a decision. Material consumption and waste, labor, spare parts and maintenance intervals, downtime loss and reject rate all belong in that figure. Depreciate against productive print hours rather than calendar years, since that tracks real usage intensity. Clarify what a quotation includes, because pumping equipment, feed system, training and commissioning are often priced separately. Then do something concrete. Issue one RFQ to two or three suppliers, built around a component you actually have to produce, with drawings, mix requirements and schedule. Ask each for cost per unit and lead time, and read the answers side by side. Vehicles and disassembly hours for site moves belong in the same account, and when projects sit in different cities, travel time can exceed print time.
Engineering support needs verification against work that can be checked. Has the team run a site or only a test hall? Does training cover fault handling rather than start-up procedure? How long do spare parts take from order to arrival? Is there a project printing right now that you can visit? Rendered images persuade poorly. A site where the machine is working today tells you far more than a showroom ever will.
The industry still has no unified component acceptance standard, so the contract carries the detail. Write in how specimens are prepared, where samples are taken for strength testing and how they are judged, the permitted dimensional tolerance, and the remedy when a component fails. That clause protects the supplier as much as the buyer.
The order for choosing a 3D concrete printer stays the same regardless of project. Start with what the machine will form and where it will form it, because that fixes the envelope and the accuracy target. Then set the envelope size and match the material and feed system against a mix you can actually buy. Next, put one component in front of two or three suppliers, trial print it, and read cost per unit and lead time side by side. Finish with engineering support and contract terms, which is where most of the residual risk sits. 3DCP holds a real advantage on irregular geometry, formwork-free construction and small-batch work. It still struggles to beat a mature precast line on standardized high-volume components, and neither structural acceptance nor material consistency has been settled across the industry.